Grocery store produce is sometimes the most expensive thing you can find in the store per pound. Not only that, you have no idea where these fruits and vegetables come from or how they are grown. Unless you buy organic, you could be serving up pesticides and God only knows what else. Growing your own produce is rewarding and fresh from the vine fruits and veggies can’t be beat.
Start Strong to Finish Strong

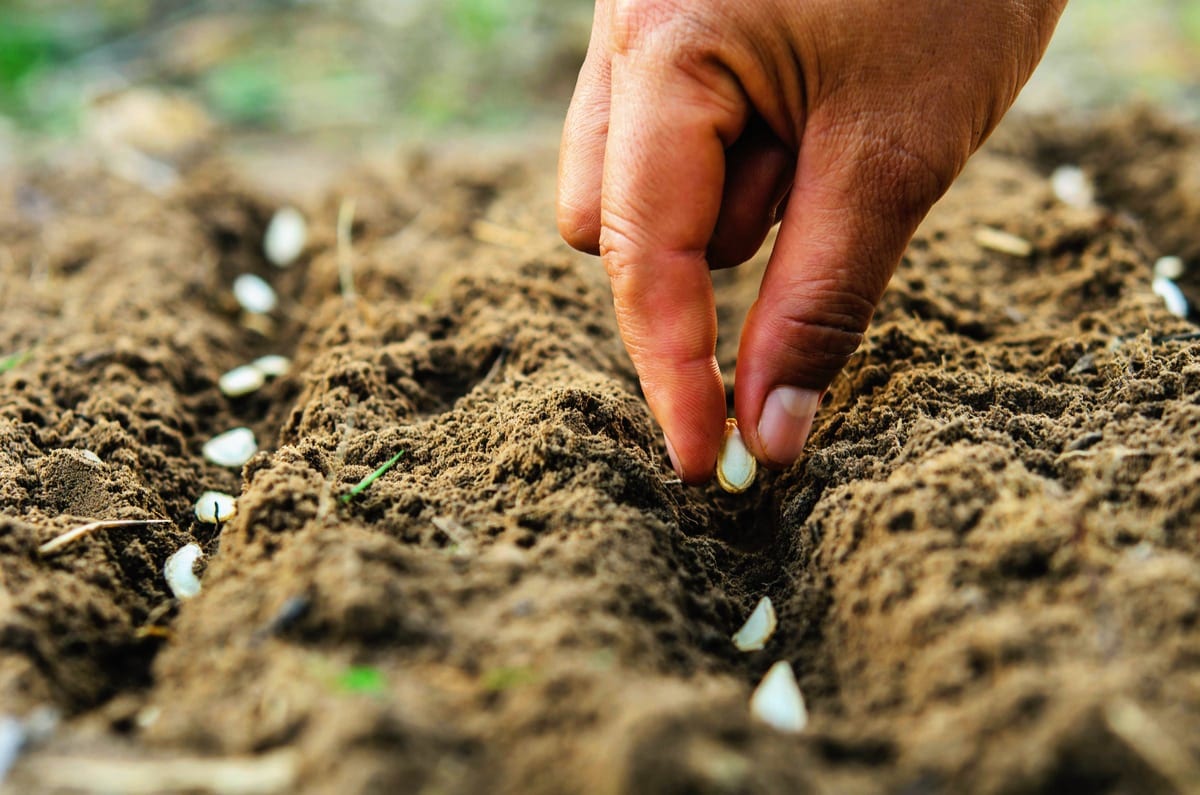
Although it is easier purchasing plants that have already sprouted, you will have control of each step in the process if you grow from seeds, ensuring that your plants are organic from start to finish. Purchasing sprouted plants will definitely give you a head start when it comes to changing a seed into fruit, vegetable, or flower. However, you can grow your own plants from scratch and control your garden from beginning to end.
Many plants, such as tomatoes, peppers, onions, and herbs, can be planted indoors beginning in January. In February, cultivate broccoli, lettuce, and tomatoes and peppers if you didn’t get a head start in January. Depending on the climate where you live, there are some types of veggies and flowers that you can plant all year long.
Step-by-Step

There are many plants that are easy to grow from seeds indoors. Vegetables like broccoli, cabbage, onions, tomatoes, and lettuce are a few that do well with this method. Flowers like marigolds and zinnias do well using this method of germinating indoors and then transplanting outside one the weather is warm enough.
Gather your containers. There are a variety of containers that can be used to start seeds; they simply need two to three inches of depth and have drainage. If you have any left-over nursery flats or other containers that meet the required depth, these are fine to use. In elementary school, kids often plant seeds in a milk container recycled from the lunchroom by cutting off the top. Do the same with a full-sized cardboard milk container and plant several in one, being careful not to overcrowd.
Dirt Matters

Start right by using the correct type of soil. This will make or break your seed project, so choose wisely or make your own. All garden centers and some variety stores like Wal-Mart sell special seed-starter mix, but you can make your own using perlite, vermiculite, peat, and lime, using equal amounts of all but lime, adding a ¼ teaspoon per gallon.
Sprinkle the dirt with water before planting, and add a light layer of sphagnum moss to protect from disease. Keep the dirt moist and the plants warm by covering the soil with plastic wrap or a glass, which will replicate the greenhouse atmosphere.
Be sure to keep the soil damp by spritzing with water or placing seed containers in a tray of water, allowing the soil to draw what it needs through the drainage hole.

Once seeds sprout, they will need as much sunlight as possible, preferably up to 12 to 16 hours per day. If you do not have a sunny spot for your sprouts, an acceptable substitute is to place them beneath a fluorescent light fixture to mimic the effect of the sun. Before sprouting, your seedlings needed extra warmth, but afterward, they can be moved to a cooler (but not cold) spot. If compost was not added when planting, fertilize with liquid seaweed fertilizer every 1-2 weeks.
Make certain your sprouts have enough space to spread out so that their natural growth will not be stunted by lack of space and water needed to grow properly. Experts advise to set up a fan on low speed directed towards the seedlings to allow them to get used to the wind outside. Before transplanting, leave seedlings outside in a shaded spot, gradually moving closer to the sun each day for a week, then plant.
A garden can be a great hobby and there is nothing like working in the soil with your hands before seeing, and literally tasting the fruit of your labors.