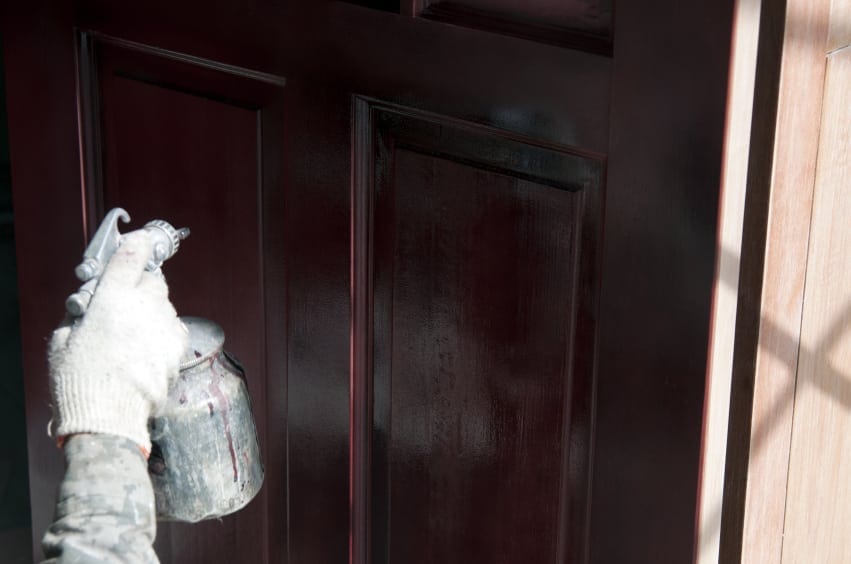
Looking for a low cost way of transforming your ready-made or old kitchen cabinets to statement pieces? If yes, you’ll be glad to know that the only thing required in making this happen is to spray-paint them. In essence, using sprayed-on finish on these cabinets is bound to leave them looking smooth and luxurious. What’s more is that this method is considered a whole lot easier than using a roller or paintbrush.
Materials Needed
The best type of paint to buy in performing this task is definitely a special spray paint finish such as semi or high-gloss latex paint and tinted primer. You’ll also need an electric sander, drop cloth, damp cloth, dust mask, electric sander, wrench, screwdriver, tape measure, paint sprayer, and drill and drill bit.
Selecting and preparing the cabinet
The most ideal cabinet to work with is one that has flat and smooth fronts. In other words, a kitchen cabinet with minimal ornamentation is preferred for cabinets with uneven surfaces tend to cause paint to bubble.
Next, you’ll be expected to wear a dust mask, use a drop cloth to protect the areas surrounding the cabinet and, use an electric sander to get rid of the finish on the cabinet. When done, use a damp cloth to wipe off the cabinet.
Then, using a tape measure, determine where you are going to place your hardware. Use a pencil to mark these areas and put a hole(s) through them (using a drill and drill bit). Consider drilling two or three holes on the door fronts so as to give the cabinets a more graphic, pleasant and unique look.
Spraying the primer and the color
While still wearing you dust mask, use a paint sprayer and a can or quart of spray primer or tinted prime and add an even coat of the primer on the kitchen cabinet and its doors. If working with bold colors, use tinted primer. Doing so will not only cut down on the number of coats to be made (as paint will stick better) but will also give a far better finish.
When it comes to spraying the main color, opt to use semi or high gloss paint. This ought to be loaded into a paint sprayer before starting to coat the cabinet’s exteriors and interiors. To enable you get an even coverage, spray in a slow and controlled manner from left to right and from top to bottom. Before applying the second coat, leave the first for about three hours so that it can cure properly.
Attach the hardware
Once the paint has dried completely, preferably after leaving it to cure through the night, attach the new hardware into the pre-drilled holes. This ought to be done while using a wrench or a screw driver. This being the last phase of refurbishing your kitchen cabinet(s), when done, you can start using your statement cabinets.
Image Credit: istockphoto.com
