Well done, you’ve got your first project done! Now all you’ve got to do is paint your newest woodwork. How the heck are you going to manage that? After all, it’s not just grabbing a can of paint and a brush and going at it. Whether you’ve got experience in painting wood or not, you’ll want to check out our best techniques to paint woodwork, and see if our tips can’t make your masterpieces look as amazing as they really are.
Choosing the Right Brush
While the dollar store down the street might have good looking brushes, there’s no guarantee that they’re good quality. And quality is the name of the game here. Spend the extra couple of bucks to get a really good brush. The right brush for the job depends on what you’re doing. If you’ve got a lot of trim, look into an angled-tip brush, to give you that designing edge. Otherwise, a straight edge brush will do. Get a brush that fits your hand, about 2 ½ inches wide for the straight brush and smaller for the angled. This will give you the right amount of control with the right amount of coverage. Synthetic is good here, as a synthetic hair brush is engineered to help bring in enough paint per dip, and will keep the paint better than most animal hair or natural brushes.
Preparation
Whether it’s repainting a wall or starting a new paint job on brand new wood, you’ll want to prepare the surface carefully. Make sure the wood is properly sanded, so that any splinters are rubbed away. Any holes, scratches, or gaps should be filled in with spackle or caulk, and sanded smooth, so that you won’t have to worry about trying to fill it with paint. The reason to sand the area is to not only keep the area smooth, but to buff out anything that might keep the paint from sticking. Nothing worse than having your paint start to peel off after only a month or two! Don’t forget the painter’s tape to cover whatever you don’t want painted. A great tip for that is to use a putty knife to really forcibly get the tape to stick exactly where you want. It helps apply a strong and even pressure that is a lot better than your fingers.
Application
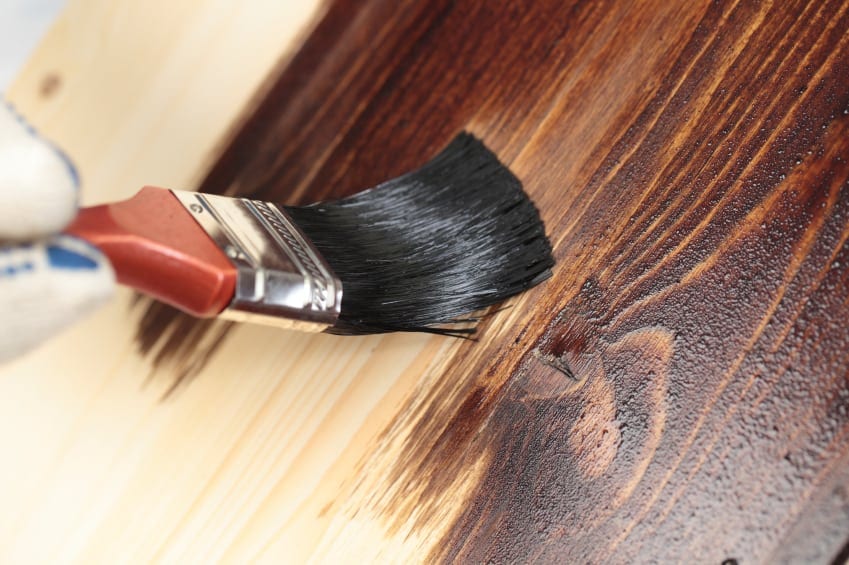
When you’re actually going to start the painting, make sure to paint from the top down. This way gravity will help you, instead of trying to screw up your new project. Be careful not to overload your paint brush with paint, as you don’t want it dripping and applying an inconsistent thickness of paint. The best way to do this is to dip the brush into the paint, let the excess drip off for a second or two, and start from the top, quickly brushing to the bottom. When you notice the paint no longer covering as much, a sign that the brush is running low, then brush with the other side from the bottom up, to help smooth out any excess from the brush onto the project. This way you can paint with both sides of the brush, get a smooth and even application, and not have to worry about unflattering drip lines.
Image credit: istockphoto.com