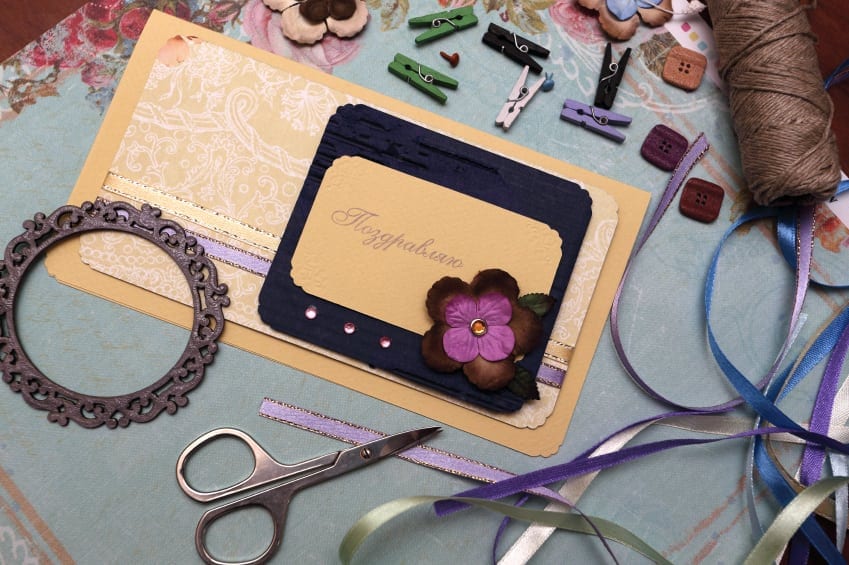
These invites are chic, creative, and perfect for a house warming party, change of address notification, painting party, baby shower, or any other party you desire. Learn about our DIY Paint Chip Party Invites!
You Are Going to Need:
Paint Chips, colors of your choosing, 2 per invitation
Card Stock, color of your choosing
Scissors
Craft knife
Ruler or straight edge
Pencil
Glue Stick
Printer or Calligraphy Pen
Colorful Envelopes
Step One: Color Chips
You want to be sure that your color chips are will fit into the envelopes you have chosen. You may need to cut the color chips to be sure that the chips will fit into the envelopes. Be sure to start with trimming the colorless margins of the chips before you start cutting into the color. When you are done all of the chips should be the same size.
Step Two: Making the Front and Back
Glue two of the color chips together, back to back. You can choose matching chips, if you like. However, you can also choose complementary colors or even clashing colors, depending on the aesthetic and theme of your party.
Step Three: Info Cards
Cut your card stock to be ½ inch smaller on all sides than your paint chips. Use the ruler to mark the lines, and then scissors to cut out the cards. These cards are what you write or print your change of address and/or party information onto. If you choose, you can print the information before you cut the cards, or write the information after you’ve cut the cards. Either way, you will need one of these cards per recipient.
Step Four: Glue the Information Down
Use a ruler to find the center point of your paint chip and mark it with a pencil. Use a ruler to find the center point of your information card, and gently mark it with a pencil. Glue your information card with the two center lines matching up and at least ½ inch margins on all sides. Once the glue dries, erase your pencil marks. The invitations are complete.
Step Five: Send Your Invites
Place your finished invites into your colorful envelopes. If you wish, you can end there. However, if you would like, you could fill the envelopes with a pinch or two of confetti made from hole punching the paint chips for an added boost of whimsy and party spirit. Be sure to send out your invitations at least two weeks before your party.
If you want your party to be an RSVP-ed affair, here’s a small tip. Make a tabled list of all of your invitees, their phone numbers, and a box for yes, no, guests, and comments. Place this list on a clip board by your phone, on your desk, or where ever party planning central is for you. This way, you’ll be able to tell at a glance if your guest has responded with the “yes/no” boxes. Fill in “guests” with how many people you project to attend, and comments with anything you feel is prudent such as delays, allergies, etc.
Image Credit: istockphoto.com
